Wood Carving with a Flex Shaft: What You Need to Get Started
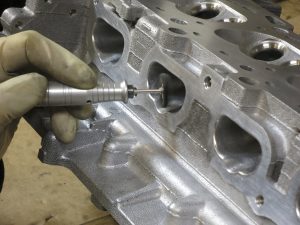
A flex shaft removes wood faster than a knife and reaches places a gouge cannot. Here is what you actually need to buy, and the one mistake that catches almost everyone the first time.
Why a flex shaft and not a rotary tool
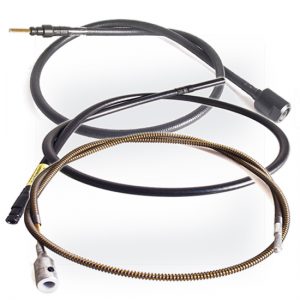
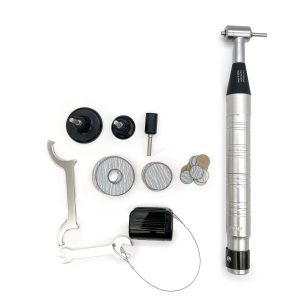
The motor hangs on a hook or sits on the bench. What you hold is a handpiece on the end of a flexible shaft, about the weight of a fat pen.
That matters more than it sounds. All the weight and vibration stays in the motor, so your hand holds something light and balanced. On a carving that takes hours, that is the difference between finishing and putting it down.
You also get a foot control, which means both hands stay on the work and you can feather the speed as you go.
Hang up or bench?
This is the first choice and it matters less than people expect.
| Hang up | Mounts above the bench on a stand or hook. Keeps your benchtop clear and the shaft falls naturally to your hand. |
|---|---|
| Bench | Sits on the bench in a cast iron base. Nothing to mount, and the whole setup moves when you do. |
Same motor inside, same power, same speed range. If you have somewhere to hang it, hang it. If you work in a shared space or move around, use the bench motor.
Not sure which machine suits what you make? Which Foredom Flex Shaft Is Right For Me walks through it.
The handpiece, and the mistake almost everyone makes
The handpiece is what holds the bur, and it is where people get caught.
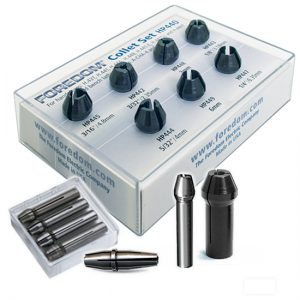
There are two kinds. A chuck handpiece grips with three jaws and takes a range of shank sizes. A collet handpiece uses a sleeve sized to one shank, and you swap collets to change size.
The H.30 does not take 1/4" shanks.
The H.30 is the most common handpiece we sell, and its chuck opens to 5/32". Most wood carving burs worth owning have a 1/4" shank. They will not fit, and no amount of tightening changes that.
For 1/4" shanks you want an H.44T, H.43T or H.25, or their square drive and slip joint versions.
Buy the handpiece around the burs you intend to use, not the other way round. Which burs fit my handpiece has the full chart, and shank size does matter covers why.
Burs: shape, then cut
Two decisions. What shape, and how aggressive.
Shape
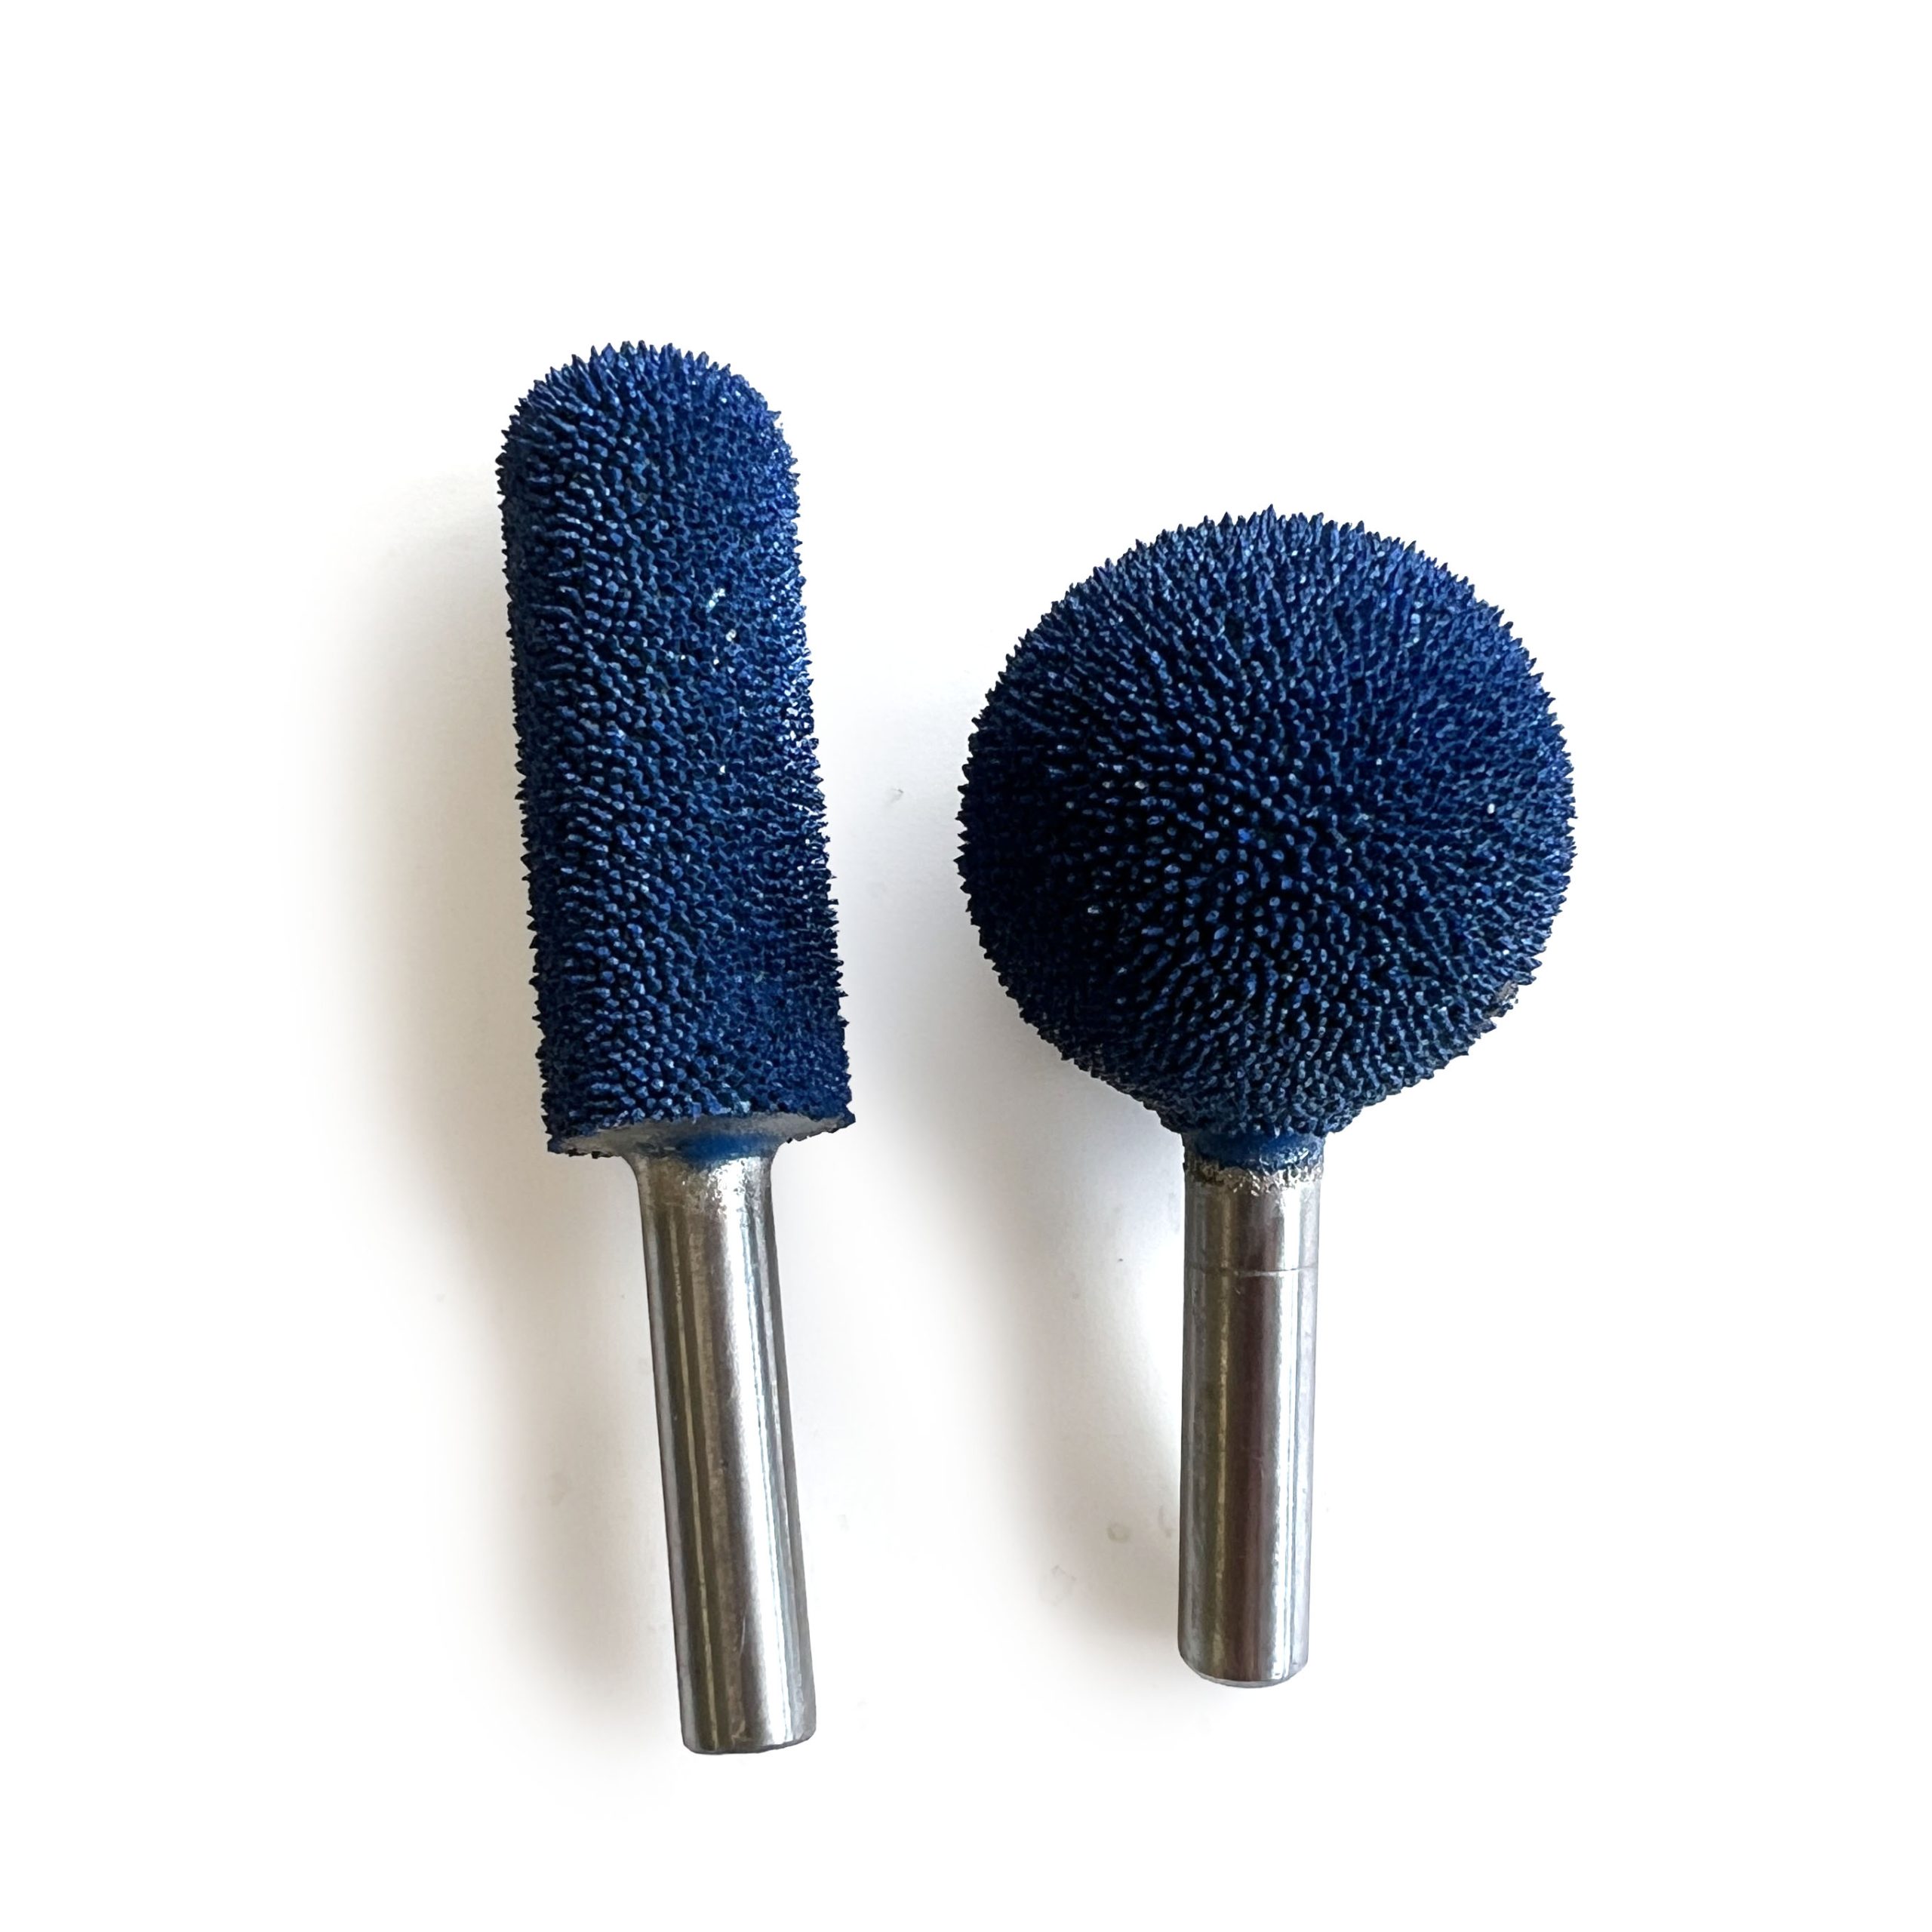
| Sphere | Hollows. A ball cuts a round scoop in one pass instead of overlapping passes that leave ridges to sand out. |
|---|---|
| Ball nose | A cylinder with a rounded end. The straight side blends long contours, the tip gets into corners. |
| Cylinder | Flattening and straight edges. |
| Taper | Detail and tight spaces. Narrows to a point for grooves, undercuts and lettering. |
| Flame | Curved detail, feathers, scales, anywhere you need a sweeping concave cut. |
In 1/4" shank these come as two products: the sphere, ball nose and cylinder shapes, and the tapered shapes, which is where the tapers and flames live. Pick the shape and the cut on the product page.
Most carving gets done with a large shape for removing wood and a smaller one for refining. You do not need the whole rack to start.
Coarse or fine
Coarse takes wood off faster. That sounds like the obvious choice until you sand.
A coarse bur leaves a torn surface that needs three or four grits to clean up. A fine cut leaves something you can finish in one or two. On an inside curve, where no flat sander reaches and every grit means hand work, that is the difference between twenty minutes and an hour.
Rough out with coarse if you are hogging off a lot of material. Finish with fine. If you are only buying one, buy fine.
Speed
More speed is not more cutting. Past a point the bur stops cutting and starts burnishing, which burns the wood and leaves a mark you have to carve back out.
Two rules cover most of it. Never run above the handpiece's rating, and never let a spinning bur sit still on the work. Keep it moving.
More on this in why you should pay attention to bur speed and optimum vs maximum operating speed.
Before you start
Eye protection, always. Carbide burs throw chips hard enough to matter.
Dust protection too. Power carving makes fine airborne dust rather than shavings, and some species are genuinely irritating. A mask and a bit of extraction are worth the bother.
Clamp or hold the work properly. A piece that shifts mid cut is how the tool ends up somewhere you did not intend.
Two ways in
If you already own a flex shaft, you only need burs. If you are starting from nothing, a kit works out cheaper than buying a motor, control, handpiece and accessories separately.
K.5240 Woodcarving Kit
SR motor, foot control, H.44T handpiece and a 27 piece accessory kit. The general purpose starting point, and the H.44T takes 1/4" shanks so you are not boxed in later.
Eric Gorges Signature Series Bur Kit
The two burs on their own, for anyone who already has a machine. A 1" sphere and a 1/2" x 1-1/2" ball nose, both fine cut, both 1/4" shank.
Foredom SR Hang-Up Motor with Eric Gorges Signature Series Bur Kit
Motor, foot control, H.44T with three collets, and the two burs. The bench motor version is the same kit with the motor on the benchtop instead.
See the whole thing done
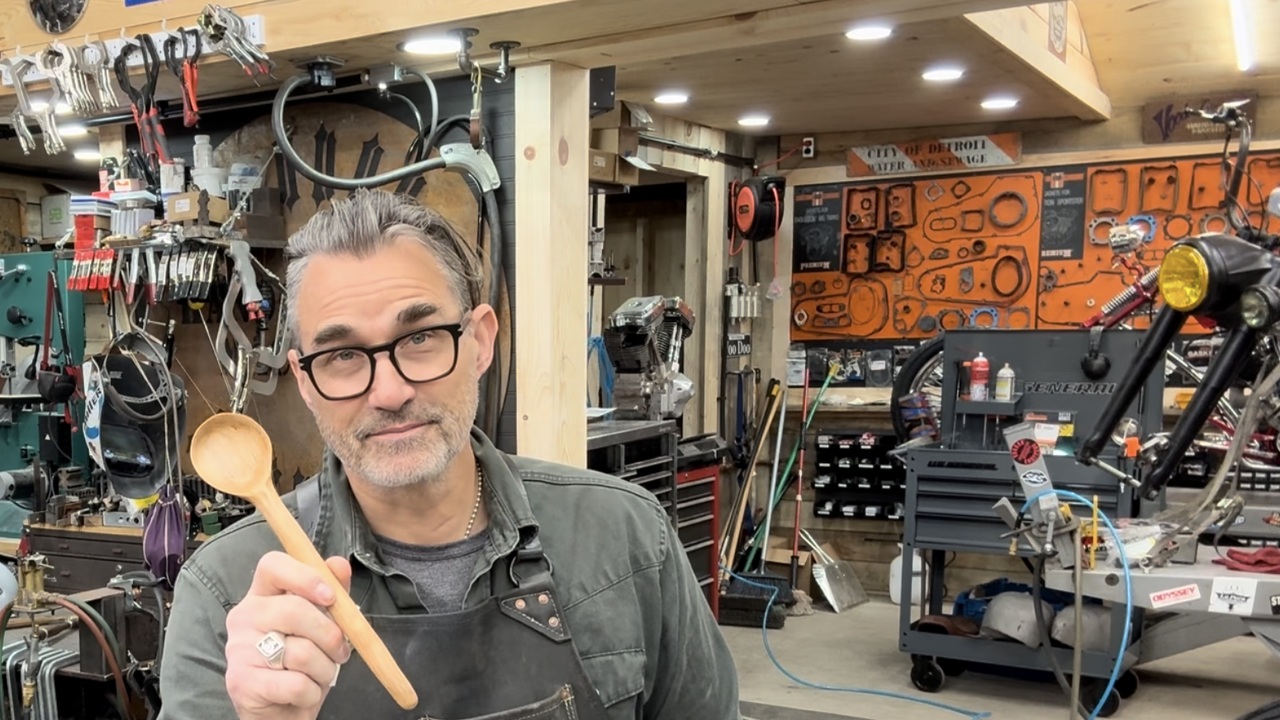
Craftsman Eric Gorges takes a maple board through to a finished spoon in four videos. Laying out a blank with a compass and pencil, hollowing the bowl, shaping the handle, sanding and a food safe finish.
Every step above shows up in practice, including the pull cut technique that keeps the handpiece under control.